
A pressure number copied from another e-bike can be wrong even when both bicycles have 20-inch wheels. Start with the tire and wheel actually fitted to your bike, then account for the rider and luggage. The aim is a measured, repeatable setup—not simply a tire that feels hard when squeezed.
Short answer: Choose e-bike tire pressure from the guidance for your exact tire, rim and bicycle, staying within all applicable limits for the load. Use the 4-step check below: identify the limits, prepare the valve and gauge, measure and adjust, then record both wheels. There is no single PSI value that applies to every electric bike, and the maximum printed on a tire is not automatically your riding target.
What do the numbers on the tire actually tell you?
Read the pressure marking separately from the size marking. A size such as 20 × 4.0 describes a nominal tire format; it is not an inflation instruction. Pressure is usually expressed in PSI, bar or kPa. Identify whether the text gives a permitted range, a maximum or a specific instruction rather than treating every number as a recommended setting.
For reading a gauge, 1 bar is approximately 14.5 PSI, or 100 kPa. Thus 2 bar is approximately 29 PSI. This is a unit conversion only, not a recommendation to inflate your e-bike to 2 bar. Select the same unit on the gauge as the guidance you are following, or convert it before making an adjustment.
What if the tire and rim show different limits?
Both limits matter. A tire’s maximum does not override a lower permitted maximum for the rim or wheel assembly. Schwalbe explicitly explains this situation in its tire-and-rim guidance. Its document discusses hookless assemblies specifically.
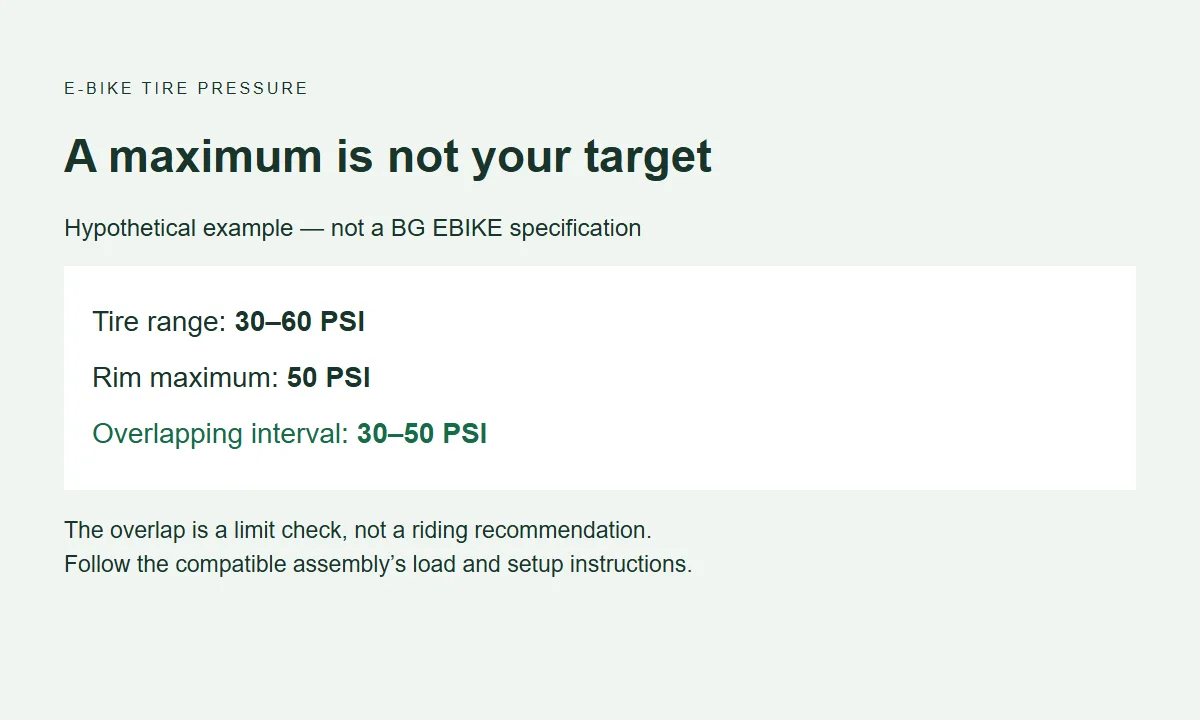
Example: reading tire and rim limits together
Tire marking: 30–60 PSI
Rim maximum: 50 PSI
Overlapping permitted interval: 30–50 PSI
Here, 60 PSI would exceed the rim limit. The overlap still does not tell you the ideal setting for the rider or prove that the tire and rim are compatible. Follow the assembly’s load and setup instructions as well.
If the instructions conflict or leave no overlapping permitted range, do not choose a compromise number. Identify the exact components and resolve the mismatch before inflating for use. Pressure cannot make an incompatible tire-and-rim combination suitable.
How do you check and adjust pressure in four steps?
1. Identify the fitted equipment and pressure guidance
Check both tires, the wheel instructions and the bicycle’s setup information. Record the tire model and size, applicable limits and the recommended setting for the intended load where provided. Include the bike, rider and carried items when considering the load. Do not create a setting from tire width alone.
2. Prepare the valve and a compatible gauge
Park the bicycle securely and switch off assistance. Identify the valve and use a compatible pump head or gauge. On a Presta valve, loosen the small tip nut before inflation; other valve types use different connections. Avoid forcing or bending the stem. Schwalbe’s valve guide explains the differences, including why not every gauge measures every valve arrangement.
3. Measure, adjust and recheck
Connect the gauge according to its instructions and read the pressure before adding air. Inflate or release air progressively toward the supported setting, then recheck rather than guessing from pump strokes. If the tire is damaged, the valve leaks or the tire appears incorrectly seated, stop and resolve that issue instead of continuing to inflate. This is a routine pressure check, not a tire-installation procedure.
4. Finish both wheels and record the setup
Disconnect without pulling the valve sideways, close a Presta tip nut where applicable and replace the cap. Check the other wheel separately. Record front and rear pressures, units, rider and luggage conditions, and the date. That record makes the next check useful: you can tell whether the setup changed instead of relying on memory.
A gauge is preferable to a thumb test. Schwalbe’s inflation guidance notes that squeezing a tire is unreliable and that pressure selection depends on the load. Do not substitute the sidewall’s appearance or apparent firmness for a reading.
Should front and rear tires always have the same pressure?
Do not assume so. Use the bicycle and tire guidance for each wheel: the load carried at the front and rear may differ, especially when luggage is added. Equally, do not automatically add a fixed number of PSI to the rear tire. A general rule cannot replace the setting supported for the actual assembly and load.
For a dealer handover or a comparison ride, use a simple record: tire identification → front pressure → rear pressure → units → rider and luggage → date. If the rider later adds a regular load, revisit the setup. A pressure record is more useful than telling every customer to use the same number.
Models to compare
These BG EBIKE examples share a nominal 20-inch format but have different listed tire widths. Use them to identify which pressure instructions and service records belong to which configuration—not as a ranking of recommended PSI. Confirm the supplied tires and wheel configuration against the quotation.
20 Inch Folding Electric Bike
Listed tires: 20 × 2.125. Keep the fitted tire’s identification with this narrower-wheel configuration. A pressure record from a 20-inch fat-tire model is not a substitute, and the folding frame does not determine the inflation setting.
20 Inch Step-Through Electric Bike
Listed tires: 20 × 2.5. Its listed front basket and rear platform make the actual carrying arrangement relevant to setup. Record normal luggage when establishing the pressure; carrying equipment does not increase the bicycle’s permitted load.
Brown Bear 20 Inch Fat Tire Electric Bike
Listed tires: 20 × 4.0. Do not interpret the wider format as permission to use an arbitrary low pressure. Use the fitted tire and wheel instructions, and choose a gauge that can read the required pressure clearly. A wide-tire appearance cannot establish the minimum safe setting.
Browse the electric bike range. For the separate task of reading replacement sizes, see our tire-size guide.
To check these details before a bulk order, order a sample of the version you plan to sell; colours, accessories and, on most models, handlebars and seats can be chosen through customization.
Frequently asked questions
How often should I check e-bike tire pressure?
Follow the interval for the fitted tire and tube, and check again when the setup or load changes. Schwalbe recommends a gauge check at least monthly for its general guidance, and before each ride with latex tubes. Investigate unexpected pressure loss rather than simply adopting a longer checking interval.
Does a higher motor rating require higher tire pressure?
No pressure increase follows automatically from motor wattage alone. The supported setting depends on the fitted tire-and-wheel assembly and the load, within the bicycle’s operating requirements. Two bikes with the same motor rating may have different tires, wheels and carrying arrangements. Use their individual setup information instead of creating a PSI rule from the number printed beside the motor specification.
Should I keep adding air if one tire repeatedly loses pressure?
No. Repeated or unexpectedly rapid loss calls for checking the tire, tube or tubeless system and valve for a fault. Record the readings and how quickly they change, then arrange appropriate inspection if the cause is unclear. Do not compensate by exceeding the permitted pressure. Restoring the correct reading temporarily is different from resolving the reason it keeps falling.
Prepare the right configuration for your customers
Send BG EBIKE the models, intended use and carrying requirements you are comparing. Include the tire configuration in the quotation and handover records so your team can match setup information to the supplied version. MOQ is flexible by model, with mixed models available; we reply within 24 hours on working days.